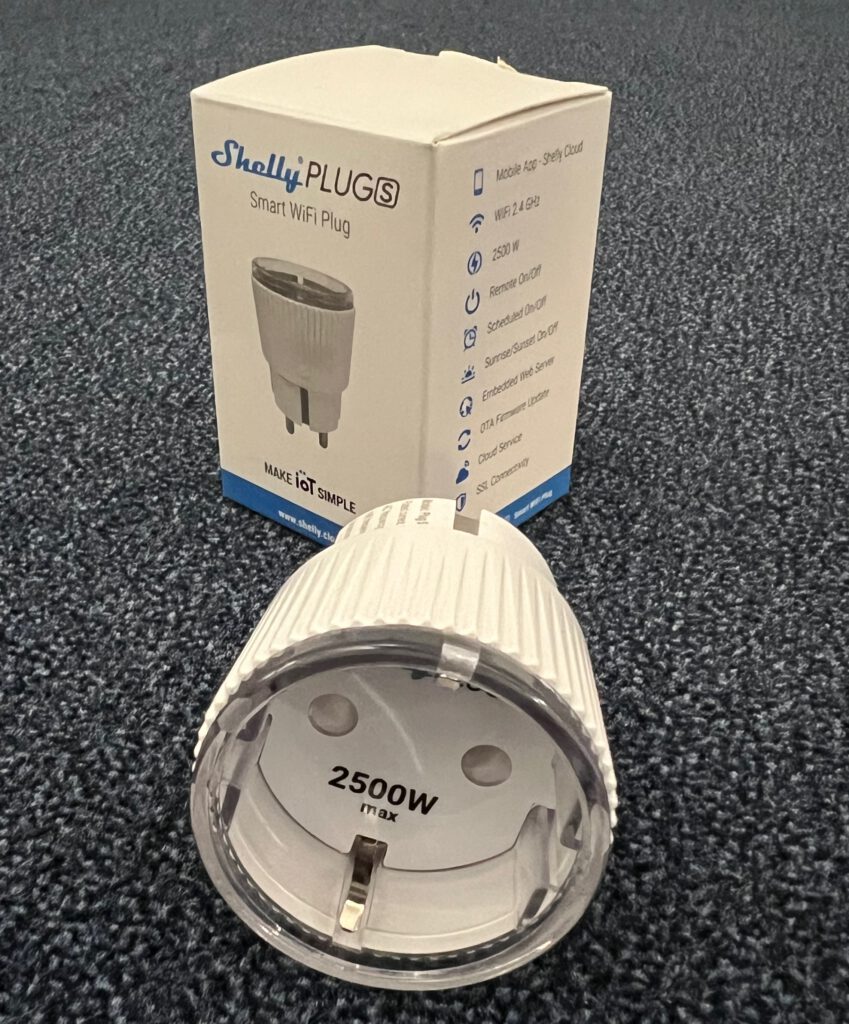
Here is a quick guide how to flash a Shelly Plug S to Tasmota. There are hundreds of similar articles available on the internet, so do not expect to find something surprising here, this is more a ’note to self‘. Here is the overview:

There seem to be various versions of the Shelly Plug S out there. For the first bunch I got, I was not able to flash them OTA to Tasmota – so I had to open them up and connect a USB-to-Serial adapter to them and flash them the good old way.
I bought another bunch a week later and they were capable of being flashed to Tasmota OTA, so this is what I am describing here. This is the process:
- Plug the Shelly Plug S in for the first time and connect on your smart phone or PC to the Access Point, starting with „shellyplug-s-…“ or similar.
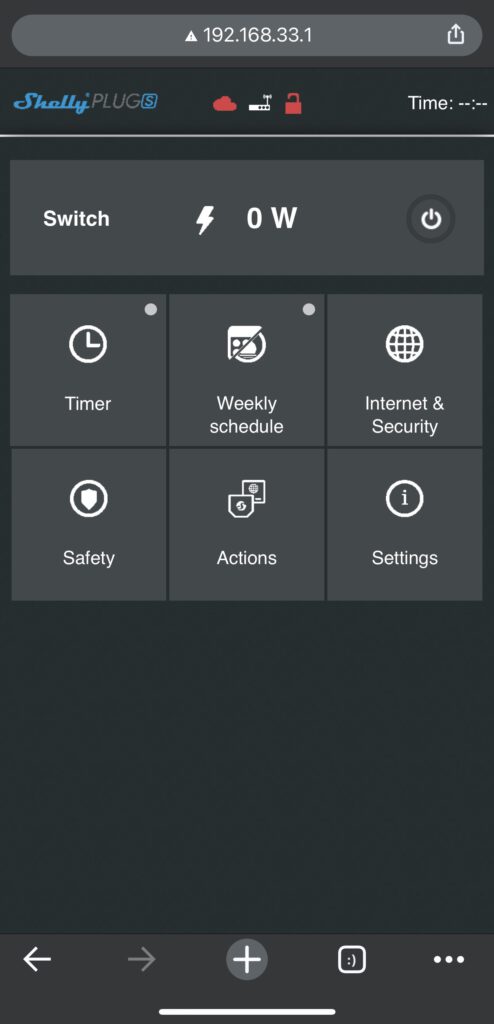
- Open your browser and go to http://192.168.33.1, which brings you to the Shelly web interface:

Here go to „Internet & Security“ -> „WIFI MODE – CLIENT“ click the checkbox „Connect the Shelly device to an existing WIFI Network“ and enter the name and password for your local WLAN. Your Shelly will restart and connect to your WLAN.
- Once it has joined your local WLAN you need to go to your Shellys‘ IP in your browser.
- How to find the IP address of your Shelly Plug S? If you have to ask, then the easiest way to find the IP of your new Shelly is by using the Shelly App. Load the app then add the device by:
- Going to the menu top right and select „Discovered devices“
- The app will search and find the new Shelly and will tell you the IP address right there. (You don’t need to add the device here.)
- How to find the IP address of your Shelly Plug S? If you have to ask, then the easiest way to find the IP of your new Shelly is by using the Shelly App. Load the app then add the device by:
- Next flash the Shelly Plug S to Tasmota by providing the URL required:
- The URL for Shelly Plug S is either:
„/ota?url=http://dl.dasker.eu/firmware/mg2tasmota-ShellyPlugS.zip“>http://<shellyip>/ota?url=http://dl.dasker.eu/firmware/mg2tasmota-ShellyPlugS.zip
- The URL for Shelly Plug S is either:
- Wait for it to reboot and give it a minute. Then the Shelly will open a new AP „tasmota-…“ which you need to connect to. Again, a pop up window should appear (if not go in your browser to http://192.168.33.1), where you can supply again your WiFi name and password. The Tasmota window will provide the IP your Shelly is using, which should be the same as before.
- If you want to flash to a specific language version, you can do that at this point. Just go to http://ota.tasmota.com/tasmota/release/, select the language version you want and copy the link URL. Then go to your Shelly and select „Firmware Upgrade“ where you can provide the URL. Then reboot and give it again a minute or so. In between it will boot to „Minimal firmware“. Do not worry at that point, just wait until it is finished!
- When you connect to your Shelly in your browser now, you will see it saying „Sonoff Basic“. The Tasmota firmware does not know, what device it is running on and this is the default. So, you need to configure Tasmota so that it knows which function sits on which GPIO etc. … so that everything works!
You do that by going to Configuration -> Configure Other and in Template you enter the following string:
{„NAME“:“Shelly Plug S“,“GPIO“:[56,255,158,255,255,134,0,0,131,17,132,21,255],“FLAG“:2,“BASE“:45}
Also click the „Activate“ check box, so the Shelly will after rebooting use that configuration. Click Save!
Pro Tip: Since I have quite a few Shellys flying around in my house, it can get confusing when you are at the Web interface, but don’t quite know which one that one is.
So I have made it a habit to instead of naming them all „Shelly Plug S“, I name them after their function, like „Tumble Dryer“ or „TV Set“. That way when I log into any of these Shellys, I can immediately see where I am without cross checking any lists. So for my Tumble Dryer, the template string looks like this:
{„NAME“:“Tumble Dryer“,“GPIO“:[56,255,158,255,255,134,0,0,131,17,132,21,255],“FLAG“:2,“BASE“:45}
This also helps if you integrate this into e.g. ioBroker, as you can more easily identify, which Shelly you are working with. - After the next reboot, you’re all set!

The process above will flash to the English Tasmota version. If you want to flash to local language version, you can use these additional steps:
- Got to http://ota.tasmota.com/tasmota/release/ and copy the link to the language version you want.
- Go to your Tasmota-Shelly, go to Firmware Upgrade and past that URL into the Firmware Upgrade field.
- The Shelly will now reboot to that new Firmware with your desired language.
2 Antworten zu “Flash Shelly Plug S to Tasmota”
Hey, I have a new Shelly plug S – made everything from your instruction – it doesn’t work. The Plug S isn’t flashed with tasiota. Any idea?
The Shelly-firmware-Update was no problem.
Yeah, that is rotten luck. As I have stated above, my first bunch of Shelly S did not want to update OTA for the life of me. So, you will need to open them physically, connect a USB-to-FTDI adapter to it and flash it via a computer. Check out my other blog entry for the „Shelly Plug (EU)“ here on this site, where I have documented this for that plug. It is identical to what you would to for the S.
I am not sure, whether those that you cannot flash OTA are old or new…