PLEASE MAKE SURE YOU HAVE UNPLUGGED YOUR SHELLY PLUG BEFORE ATTEMPTING ANY OF THIS. TEMPERING WITH ELECTRICAL APPLIANCES CAN CAUSE SERIOUS INJURIES OR DEATH. ONLY DO THIS IF YOU ARE A PROFESSIONAL ELECTRICIAN. IF YOU STILL FOLLOW THIS GUIDE, YOU ARE DOING SO AT YOUR OWN RISK!
This is a short description of how to flash Tasmota firmware onto a Shelly Plug (EU), so not the „Shelly Plug S“. This is not capable of OTA updates, at least my version was not, despite a full day of trying.
The descriptions available today (Oct 2022) are only saying „use USB serial“, but there was no concrete example that I could find. So, here is a little guide.
You firstly have to open your plug by loosening 4 screws…
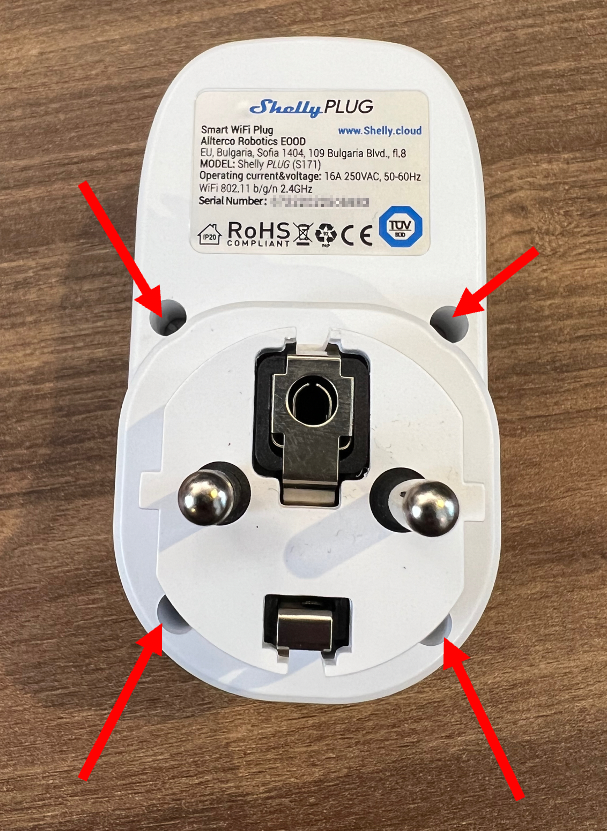
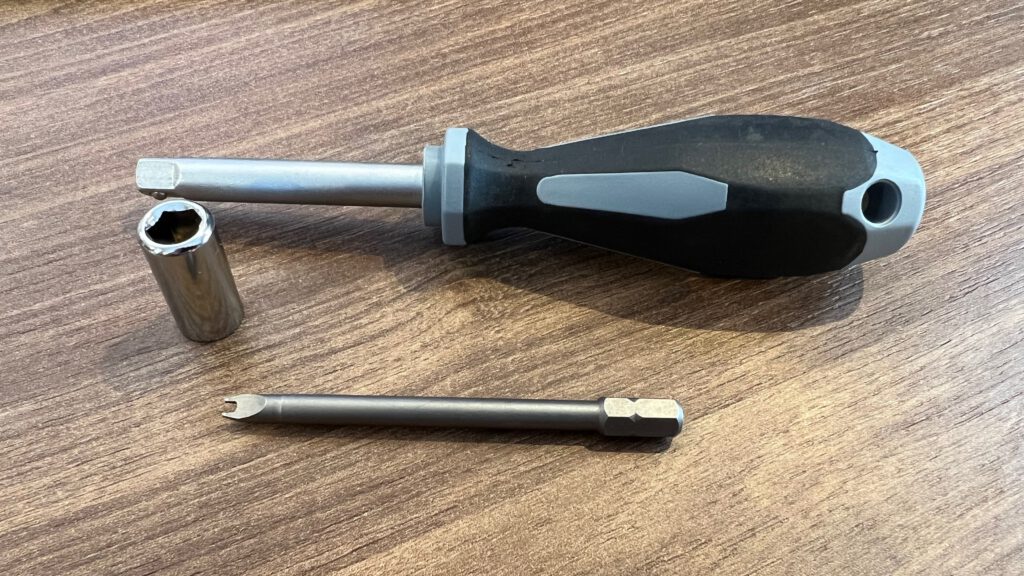
…using a special screw driver („Fork Type“), which is often used in preventing people from opening electrical appliances, see below:
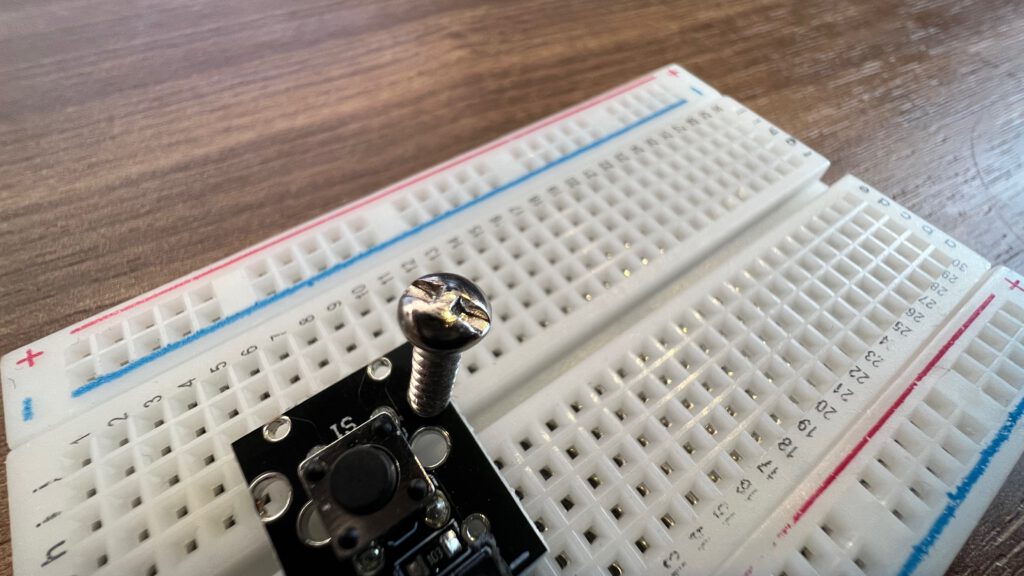
This is what those screws look like:
The plug has a little clip on the top end. I use a small prying tool (like a little plastic clip) and slide it to the top end and it will click open easily. Use whatever you have:
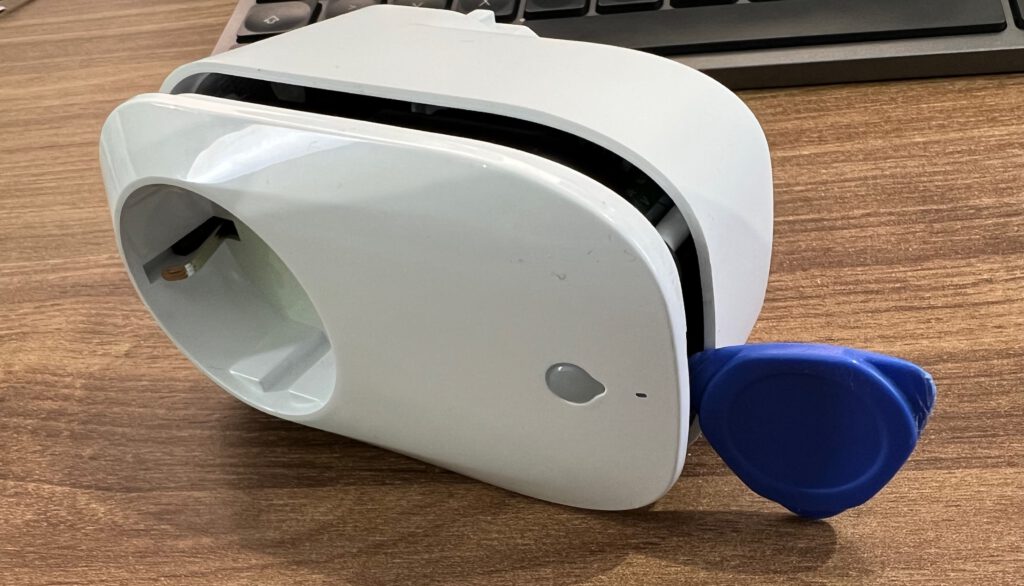
Once opened, you can carefully slide out the circuit board stack:
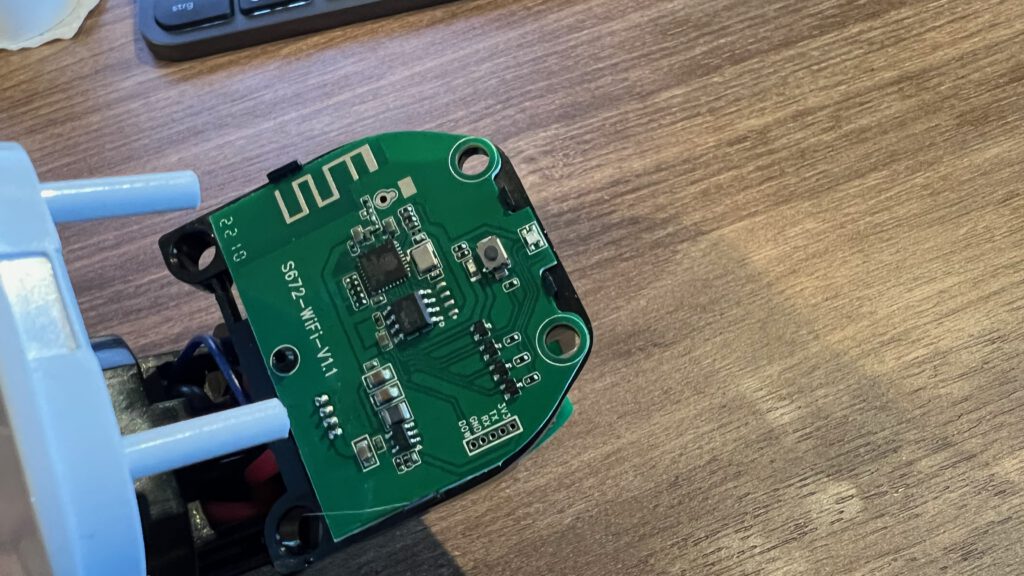
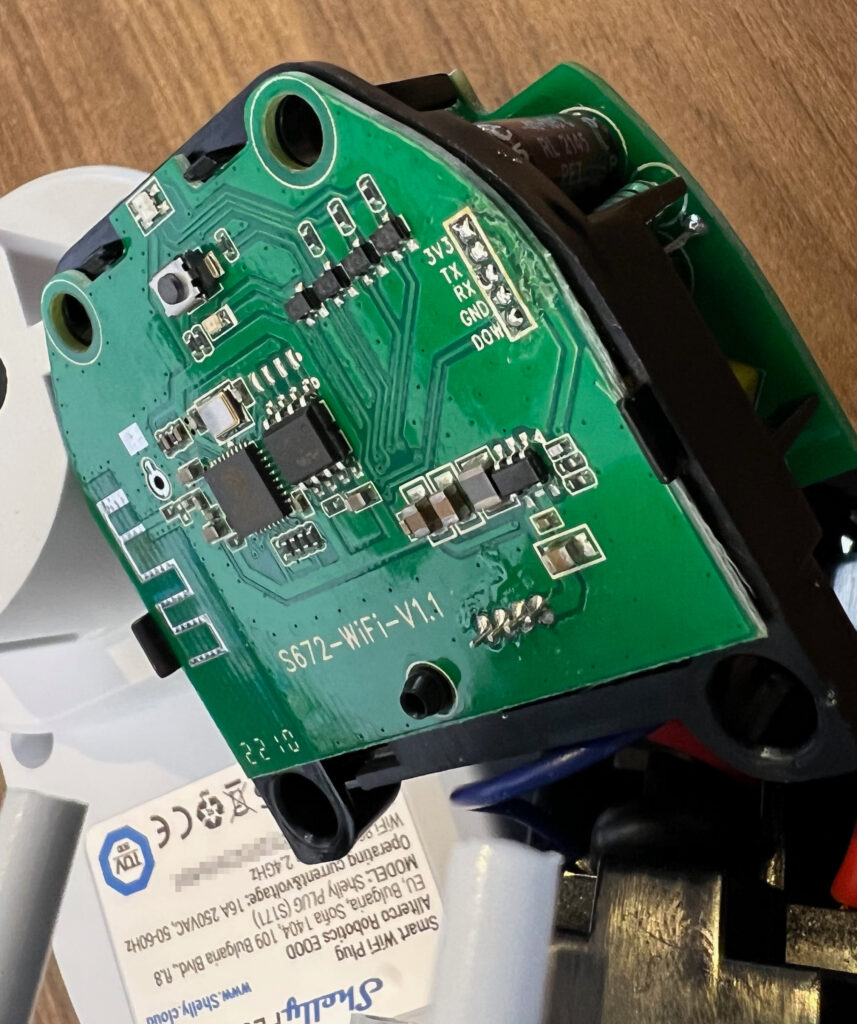
You will then have to solder carefully your USB to serial adapter to those marked connection points on the circuit board. Here is mine, not great not terrible:
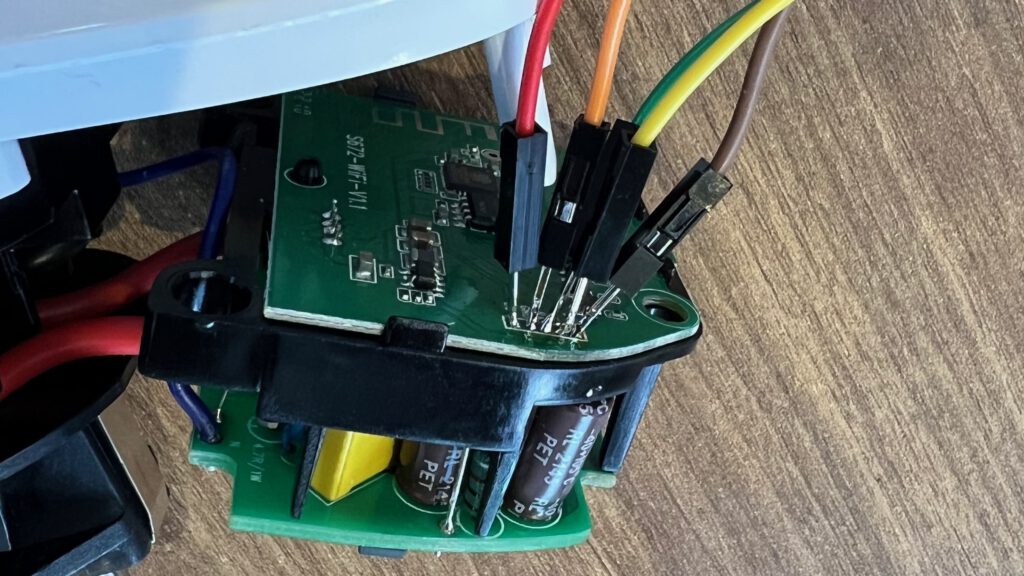
Make sure that the pin marked „D0W“ is connected to GND, so when you connect your serial adapter to your USB port, the ESP8266 in your Shelly Plug will go into flash mode.
To test whether I have proper connection, I use this command:
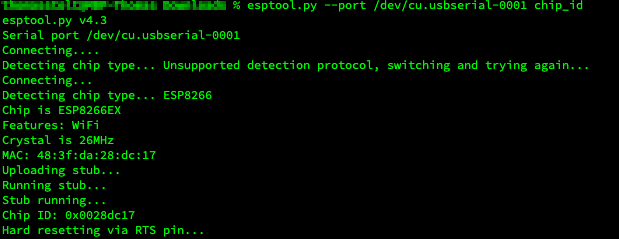
Now, we are ready to flash Tasmota to the device. Get the latest Tasmota image from Github and then use this command:
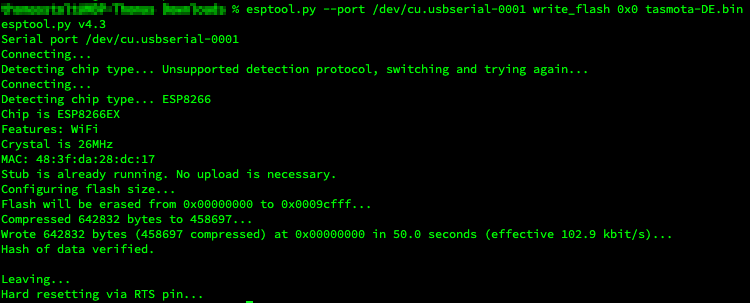
I had to try it three or four times until it went through to 100%, so just be patient.
After that, first unsolder your connections. Do not try to plug it in with those connections still attached!!! Also make sure you have not created any bridges with you solder.
Once done, put your plug back together and tighten those screws firmly. Plug your Shelly Plug into your mains power and wait for the Tasmota AP to appear, connect to it and follow the instructions to connect your Shelly Plug to your desired WLAN.
Configuration
The Tasmota image that we flashed does not know, that it sits on a Shelly Plug, so you need to give it the correct configuration, so that the relay, power measurement and LED works.
For that, you need to go to the web interface of your Shelly and go to „Other Configuration“ (Sonstige Konfiguration). There you have to use the following template (from https://templates.blakadder.com/shelly_plug.html) in the top field „Template“ (Vorlage):
{"NAME":"Shelly Plug EU","GPIO":[0,0,0,0,224,2688,0,0,96,288,289,0,290,0],"FLAG":0,"BASE":18}
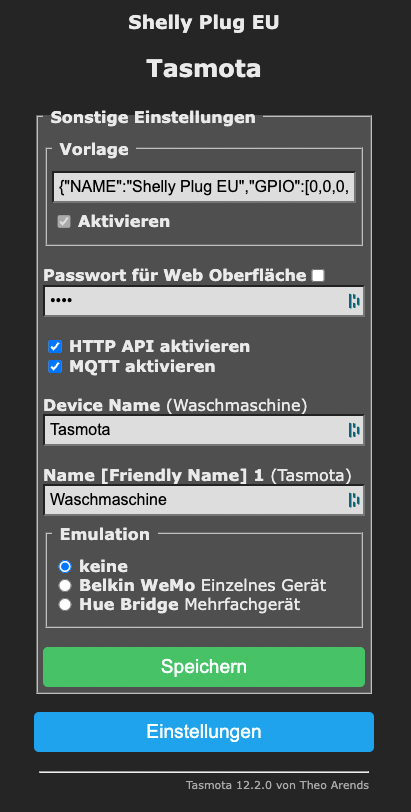
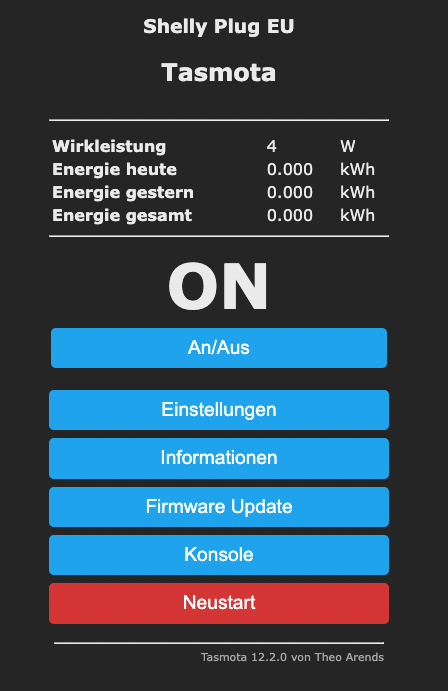
This will essentially tell Tasmota on which GPIO which function sits. If you check the box directly under it „Activate“ (Aktivieren), the Shelly Plug EU will reboot and you are finished. You should be seeing the below picture.
Enjoy!